Tuesday, 4 December 2012
Exhibition tomorrow!!
I came into class Monday morning expecting the worst... To hate the painting I had spent Friday working on. So it was a big relief to see it there with just a few touch ups to do, firstly to fix the visible rings around the scabs, and secondly to fix where the paint had come off from sitting on the wooden blocks while the glue was drying. Yay! Didn't take long to fix up.
Because of the sizes of Dan and I's work there were 3 walls put together with us receiving a side each. I feel a bit guilty because my work is facing the entrance so can be seen as soon as you walk through the door, not sure I deserve that space to be honest! Luckily there was still space for the rest of the class to hang their work using the outer walls as well. i feel bad about getting extra since we were only meant to get max of 2 each. There were some tense moments as I talked about which works to hang in my space and in the end decided on the large scab painting that had just been finished and the painting with the angry face. I feel like these 2 work together to show both the mental and physical scarring that people get through their lives. Paul did most of the hanging for me, my brain couldn't keep up with his quick calculations for where the nails had to be placed in order for my paintings to be where I wanted. Next we stuck up our labels and were told to come up with prices with a bit of help. After talking to Paul I decided on $400 for the large scab and $150 for the angry face. I will be surprised if they sell, but happy since I've never sold anything before! I took photos of mine and everyone else's work up, the exhibition looks amazing. I will just put the photos of my work up in case there is any conflict with me putting up photos of their work on my blog. I am preparing some notes now for my speech to the panel now so better get back to work! :)
Tessa.
Saturday, 1 December 2012
on the home stretch
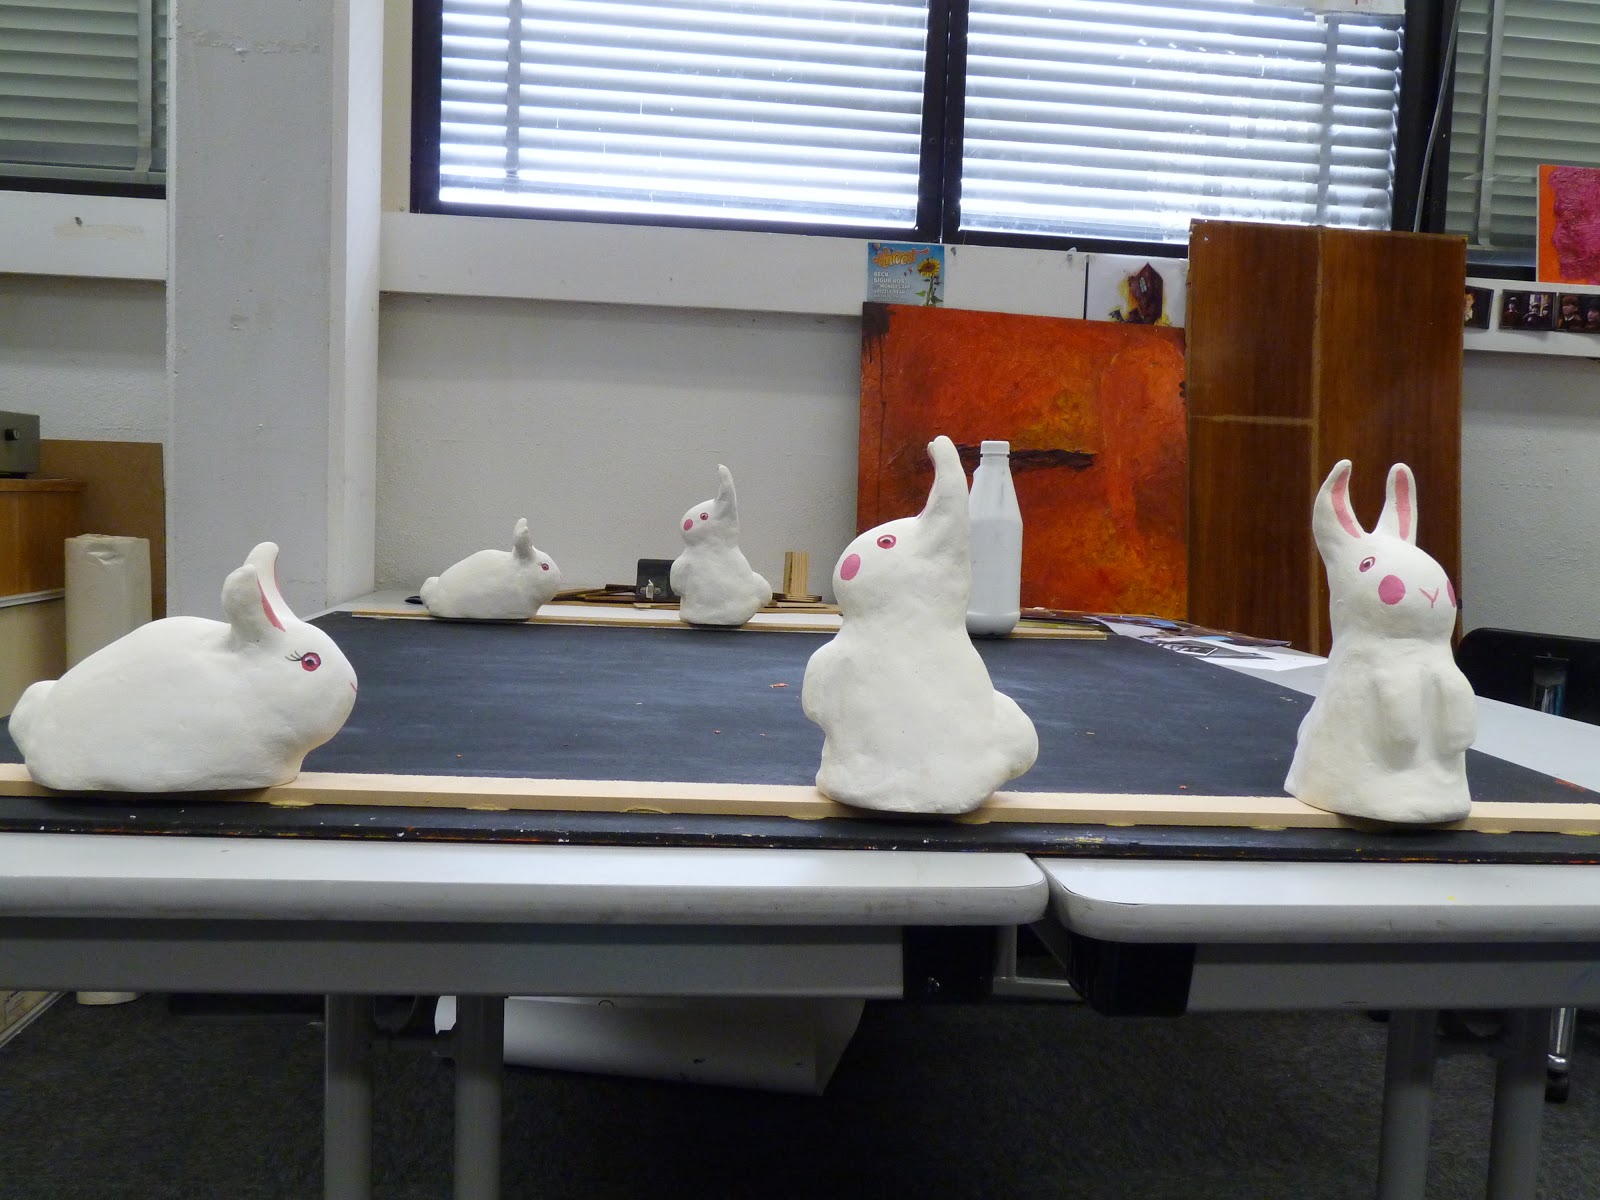
Yesterday my dad came over to my place in the morning so we could take my paintings over to cit in his car. The 122x120cm paintings didn't fit inside so I wrapped them up and we attached them to the roof rack. When we got to cit Paul helped me with attaching strips of wood to the backs for them to hang by. I took some pics coz they looked quite cute and funny with Christine's rabbit's as weights. Thanks Christine! :)
I spent most of the day working on the second big painting that i started a couple days ago with 2 big scabs on it. Here's my whole process:
1. Some layers of gesso
2.layer of black
3. rough blue/white/black layer to offer a variance in shades coming through my next layers.
4. Clear impasto gel textured with my hands.
5. Red/yellow/orange/brown smoothed over with my hands.
6. Orange wash
7. Red wash
8. Modelling paste used to create 3D scabs
9. Splashes, drips etc put roughly over painting with red and brown paints
10. another layer of textured impasto
11. Scabs painted with brown, black, red, yellow. Took ages of applying layers and changing it to look right. Ran out of time in the end and I needed to look at it with fresh eyes so stopped.
12. Also had to paint around scabs again to fix where I had gotten the scab colours on the skin. Need to go over again because it looks funny now.
13. Put some splashes over top of impasto to have some rough matte contrast the shiny.
14 put it upside down on small blocks because still wet and attached the strips of wood for hanging.
Hopefully I will have time to do my finishing touches on Monday.
Tessa.
Subscribe to:
Comments (Atom)


